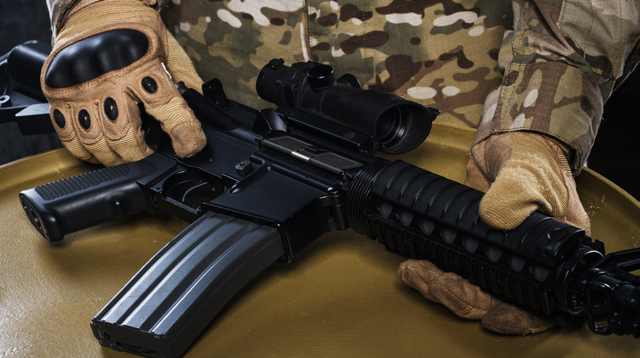
AIRSOFT WORKSHOP
When you pick up an AEG in this day and age, regardless of whether it’s an M4, an AK-47 or a Steyr AUG, you can rest assured that they all share at least one thing in common asides from spraying out plastic BBs – they all make use of a motor. AEG Airsoft Guns are powered by a mechanical system within the gearbox that is comprised of three gears and a single motor. This system allows for a smooth transfer of electrical energy into mechanical energy, allowing for BBs to be pushed through the hop-up and out of the barrel.
In short, when the trigger is pulled, the battery sends an electrical signal through to the motor, which is then responsible for initiating the movement of the gears inside the gearbox, which leads to your AEG shooting. Due to this, the motor is important as it can dictate the rate of fire and responsiveness of your AEG.
WHERE IS THE MOTOR STORED?
You’ll be pleased to know that the motor is very easily accessible due to its storage position – the grip. When looking at an M4/M16, you will find three screws (one large central screw and two smaller screws either side) which allow you to adjust the position of the motor and gain access to the motor.
HOW DO YOU ADJUST THE MOTOR?
Before replacing a motor outright, it might be worth checking whether the motor simply needs adjusting. The large middle screw found on the bottom of the grip is responsible for this. Adjusting this large central screw will adjust the positioning of the motor.
Adjusting the position of the motor can, at times, fix any issues you have. This is due to the fact that if the motor is positioned too high, it can decrease FPS and increase wear and tear, while having it too low can lead to the motor being unable to grab the gears and turn the gearbox – essentially meaning your airsoft rifle will simply not work.
REPLACING THE MOTOR
Replacing the motor is a fairly simple task thanks to its positioning. However, what exactly do we look to gain from replacing a motor in the first place?
- INCREASED RATE OF FIRE
- INCREASED RESPONSIVENESS
Now that you’re sure it’s the motor you want to replace to achieve either of the above, you’re going to need to choose a motor.
– HIGH TORQUE MOTOR: A high torque motor is made to reach its maximum RPM as fast as possible. This means that when you press the trigger, you will receive very little delay.
– HIGH-SPEED MOTOR: A high-speed motor is made to reach a much higher speed, leading to a much higher rate of fire. This does come with the trade-off of higher delay.
So, with your choice of motor in hand, how exactly do you install it into your airsoft rifle? As we’re most familiar with the M4 platform, we will be demonstrating how to change a motor on an M4.
STEP 1 – REMOVE GRIP BASE PLATE: Simply turn the M4 upside down so you’re able to see the bottom of the grip. Place your finger over the larger screw and then remove the two smaller screws. Once these have been removed, remove your finger from the larger screw slowly.
STEP 2 – REMOVE THE MOTOR: Once you’ve removed the baseplate, remove the two clips found on the left and right of the motor. Following this the motor should just come straight out.
IMPORTANT NOTE: Make sure when you remove the clips you make a note of which clip was attached to which side. Failure to do so will make your airsoft rifle shoot backward!
STEP 3 – INSERT NEW MOTOR: With the old motor removed, you now simply need to insert your new motor. Drop it into the grip. Following this, ensure the two clips are attached to the correct sides of the motor and replace the baseplate!
STEP 4 – TEST YOUR NEW MOTOR!: You’re done! At this point, all that’s left to do is test your new motor and make sure everything works as intended! Congratulations!